
 Project Brief, Dudley Zoo
1 minute Video Experiment
https://vimeo.com/home/myvideos
Initial Ideas
To use the Bear Ravine as a performance space for one night only. After first visiting the ravine i realised just how beautiful it looked in its present state and i decided instead of trying to renovate it why not celebrate the structure as it is now. I want to make it a ‘one off event’, therefore the building wouldn’t lose its origins and what its best known for, the architecture would remain the same.
Photo documentation


Pitching my Ideas
After deciding on an idea i put together a Powerpoint to present to the class for feedback and suggestions. I based it around initial research and how i will take my idea forward.


All of these companies use interesting places to perform such as run down warehouses/ buildings and Stans Cafe in particular do ‘one off’ performances in peculiar places. These were my starting points and fuelled my ideas regarding the bear ravine.
Video idea
. One time Performance in the bear ravine building
. Based around Dance or possibly to do with the movements of bears or the space/ architecture of the building
. Create a map/path from research and hand to individual people, ask them to follow the path in a certain amount of time and film it.
. Do a series of these short films and edit them all together.
Things to consider
. Who will i film in the video, will the identity matter?
. How do i plan to map it out/ make a pathway?
. How long are these clips going to be?
After pitching my idea and getting group feedback i decide to base my video performance around the space within the bear ravine, looking at the empty corners the patterns and paths the building creates and using that as the base of my video.
Research into the background of the structure/ available blue prints/ original plans
Dudley Archives


All of the above are original plans for Dudley Zoo though unfortunately the plans for the Bear Ravine was the only piece that had deteriorated to much for us to handle or photograph.
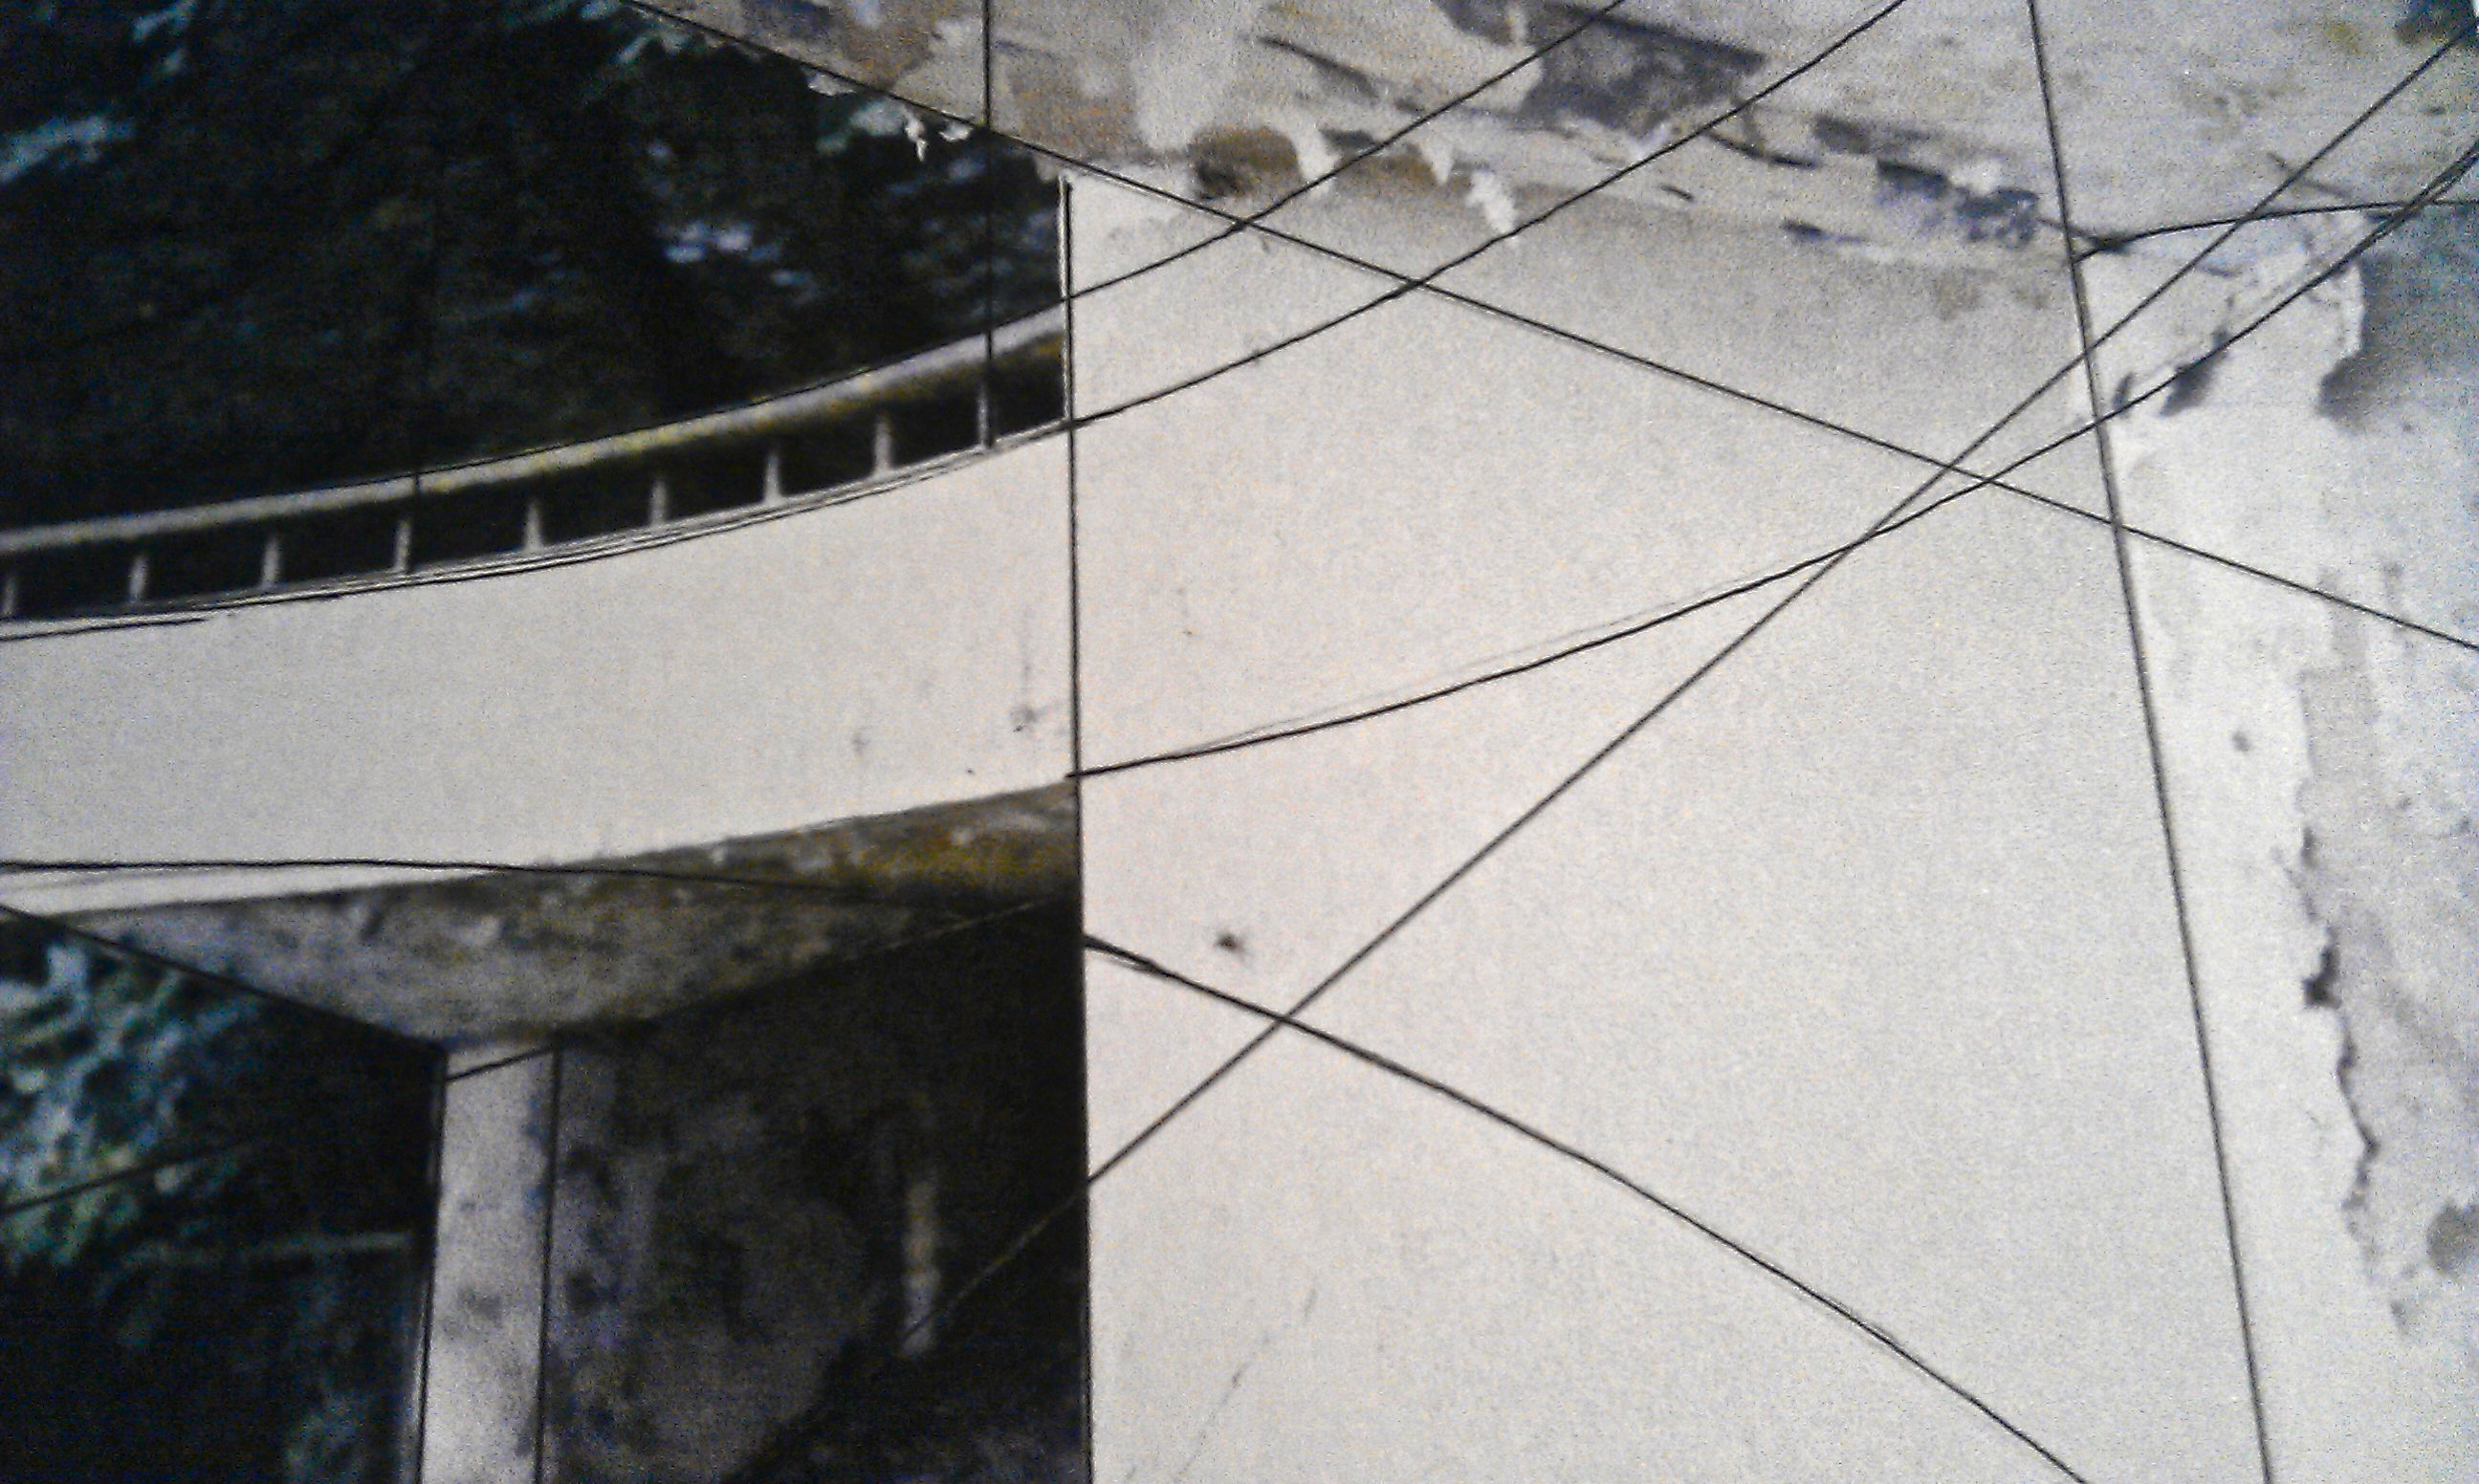
As i am basing my video on the structure itself and the space within it, i took inspiration from the original plans and the line drawings to create some of my own pathways using the photo i had previously taken.


I printed off a couple of pictures and used pen to join all the corners, curves and diagonal lines. I found the more i connected together the lines naturally started to make shapes and pathways.


I used tracing paper to go over the same patterns i had made but without the picture. I was then able to focus on the shapes the structure had created and incorporate these ideas into my work.
After a tutorial and group presentation i decided that i should focus on the pictures i had done and maybe use these pieces in my video.
It was suggested that i film myself drawing out the lines on the images instead of actually building within the bear ravine. I really liked this idea and so started to plan how my video would work.
Things i need:
.Over-head tripod
.camera
.Room with natural light to reduce the risk of shadows
I started to eliminate pictures that hadn’t worked quite as well so i could get the best results for my film.


I tried to use a range of pens and pencils, some much thicker than others. This meant I could pick certain lines that I wanted to be bolder than others.
Once i got my tripod set up and had done a quick film test i was ready for the final filming. I had set up a microphone next to the images i was drawing on to try and pic up the sound of the pen on paper.


All together i used 12 different images for my film, this was so i had as many different clips that i could swap and edit as much as i wanted.
Whilst filming i came across few problems such as light, making sure every clip was the same and there weren’t to many shadows. I also found it difficult to draw some of the lines, especially the free hand ones as he camera was above my head so i could lean forwards or obstruct the view.
Once i was happy i had enough footage i began the editing process.
I tried to stick with the rhythm of footage i had taken and use the sound to sync with this.
Final Video
Iink: https://vimeo.com/53601314
I was pleased with the outcome of the video having not used film before but i thought maybe it could of been a bit sharper.
Print Module
I wanted my print piece to have a strong relationship to my video and reflect my initial intentions.
Initial ideas: To use a photo i had originally taken at Dudley Zoo, produce a print on a large scale and use it as a vehicle for experimentation. I would then hammer in nails around specific points on the print and use them to attach pieces of string to create lines across the image. This would reflect what i had done in my film to emphasise the dynamic quality of the building design.
Printing image
I chose this photo from my film to use as a big print.

I decide i wanted the print to be black and white so it wouldn’t detract from the string. I had to get it printed in two half’s because of its size and then figure out a way to attach the two.

I started to trim the edges of the print so they would line up perfectly. I also began to work out which lines on the print i might like to use to be able to replicate this with string.
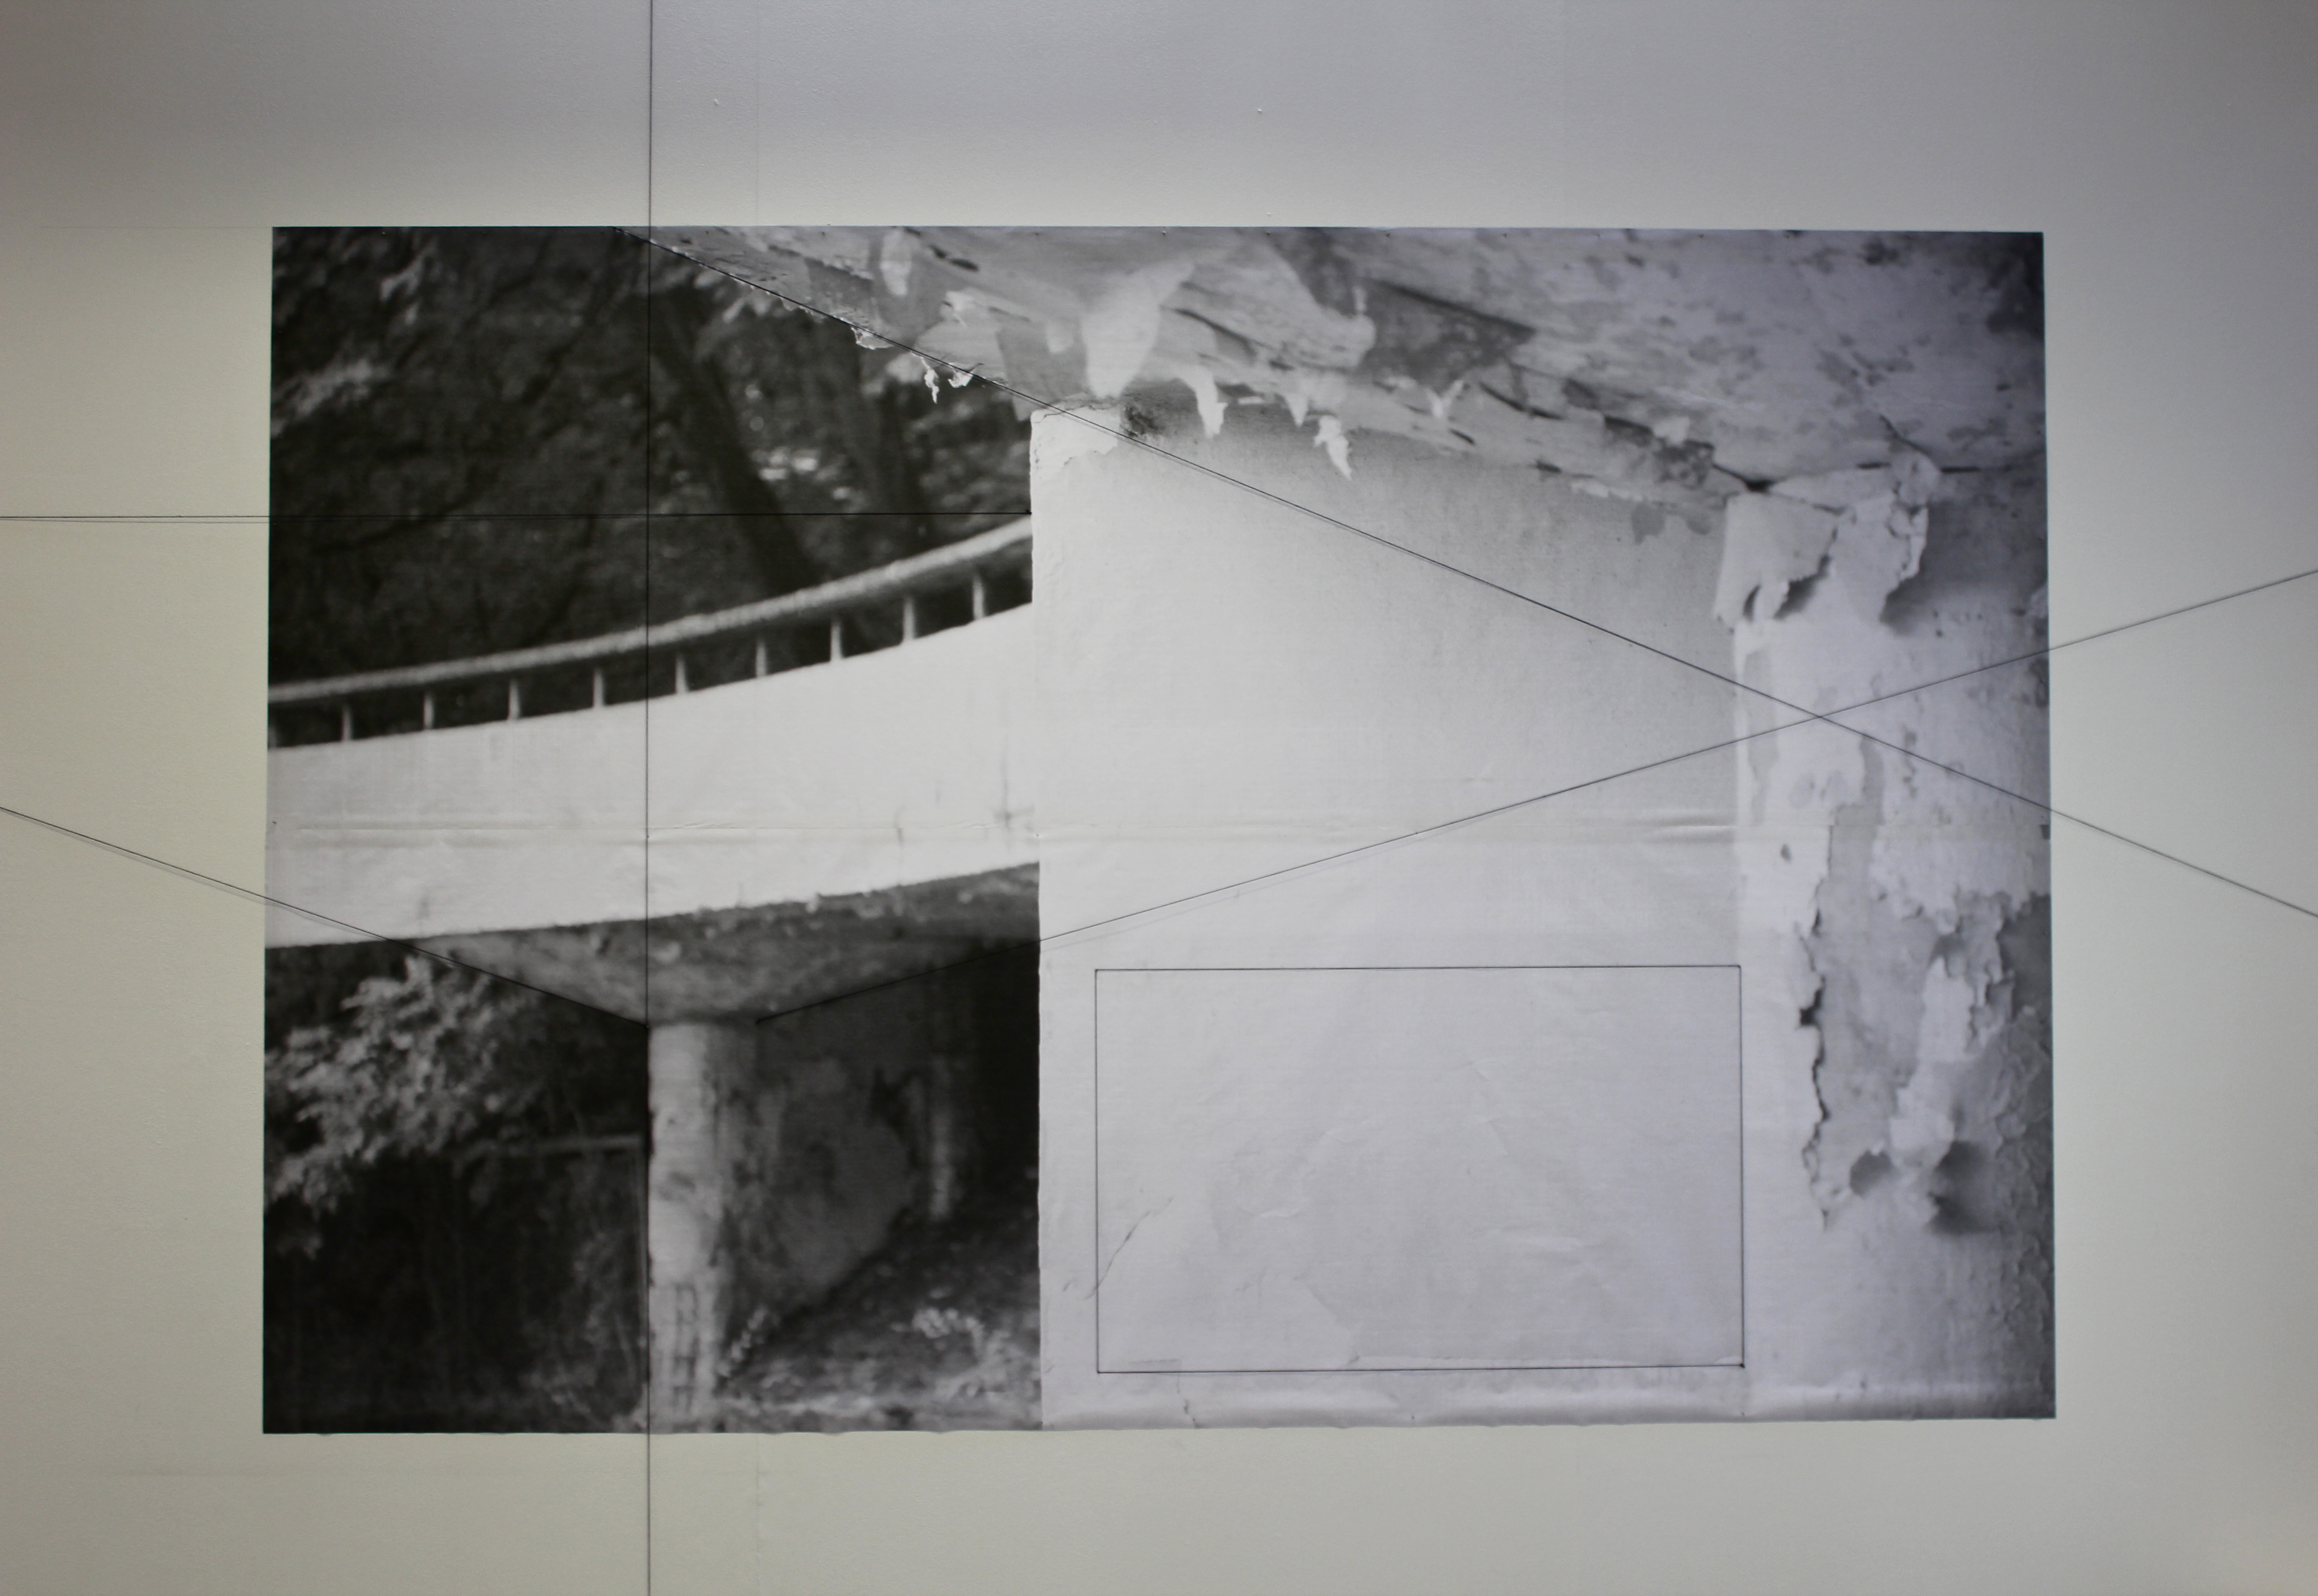
I decided that as well as using lines to emphasise the structure i wanted to add a golden section to reflect the beautiful proportions of dudley zoo itself. I decided to take measurements off one of the angles in the picture and use that as my starting point.

i created a mock up golden section with card board so i could look at where i wanted it and make sure it looked balanced.


I decided to use small panel pins to secure the picture and string. Originally i was going to use wall paper paste but this proved too difficult regarding its size and with how thin the paper was i feared it would just ripple. I used masking tape to go around the back of the picture to ensure the paper wouldn’t rip when i used hammered the nails in.
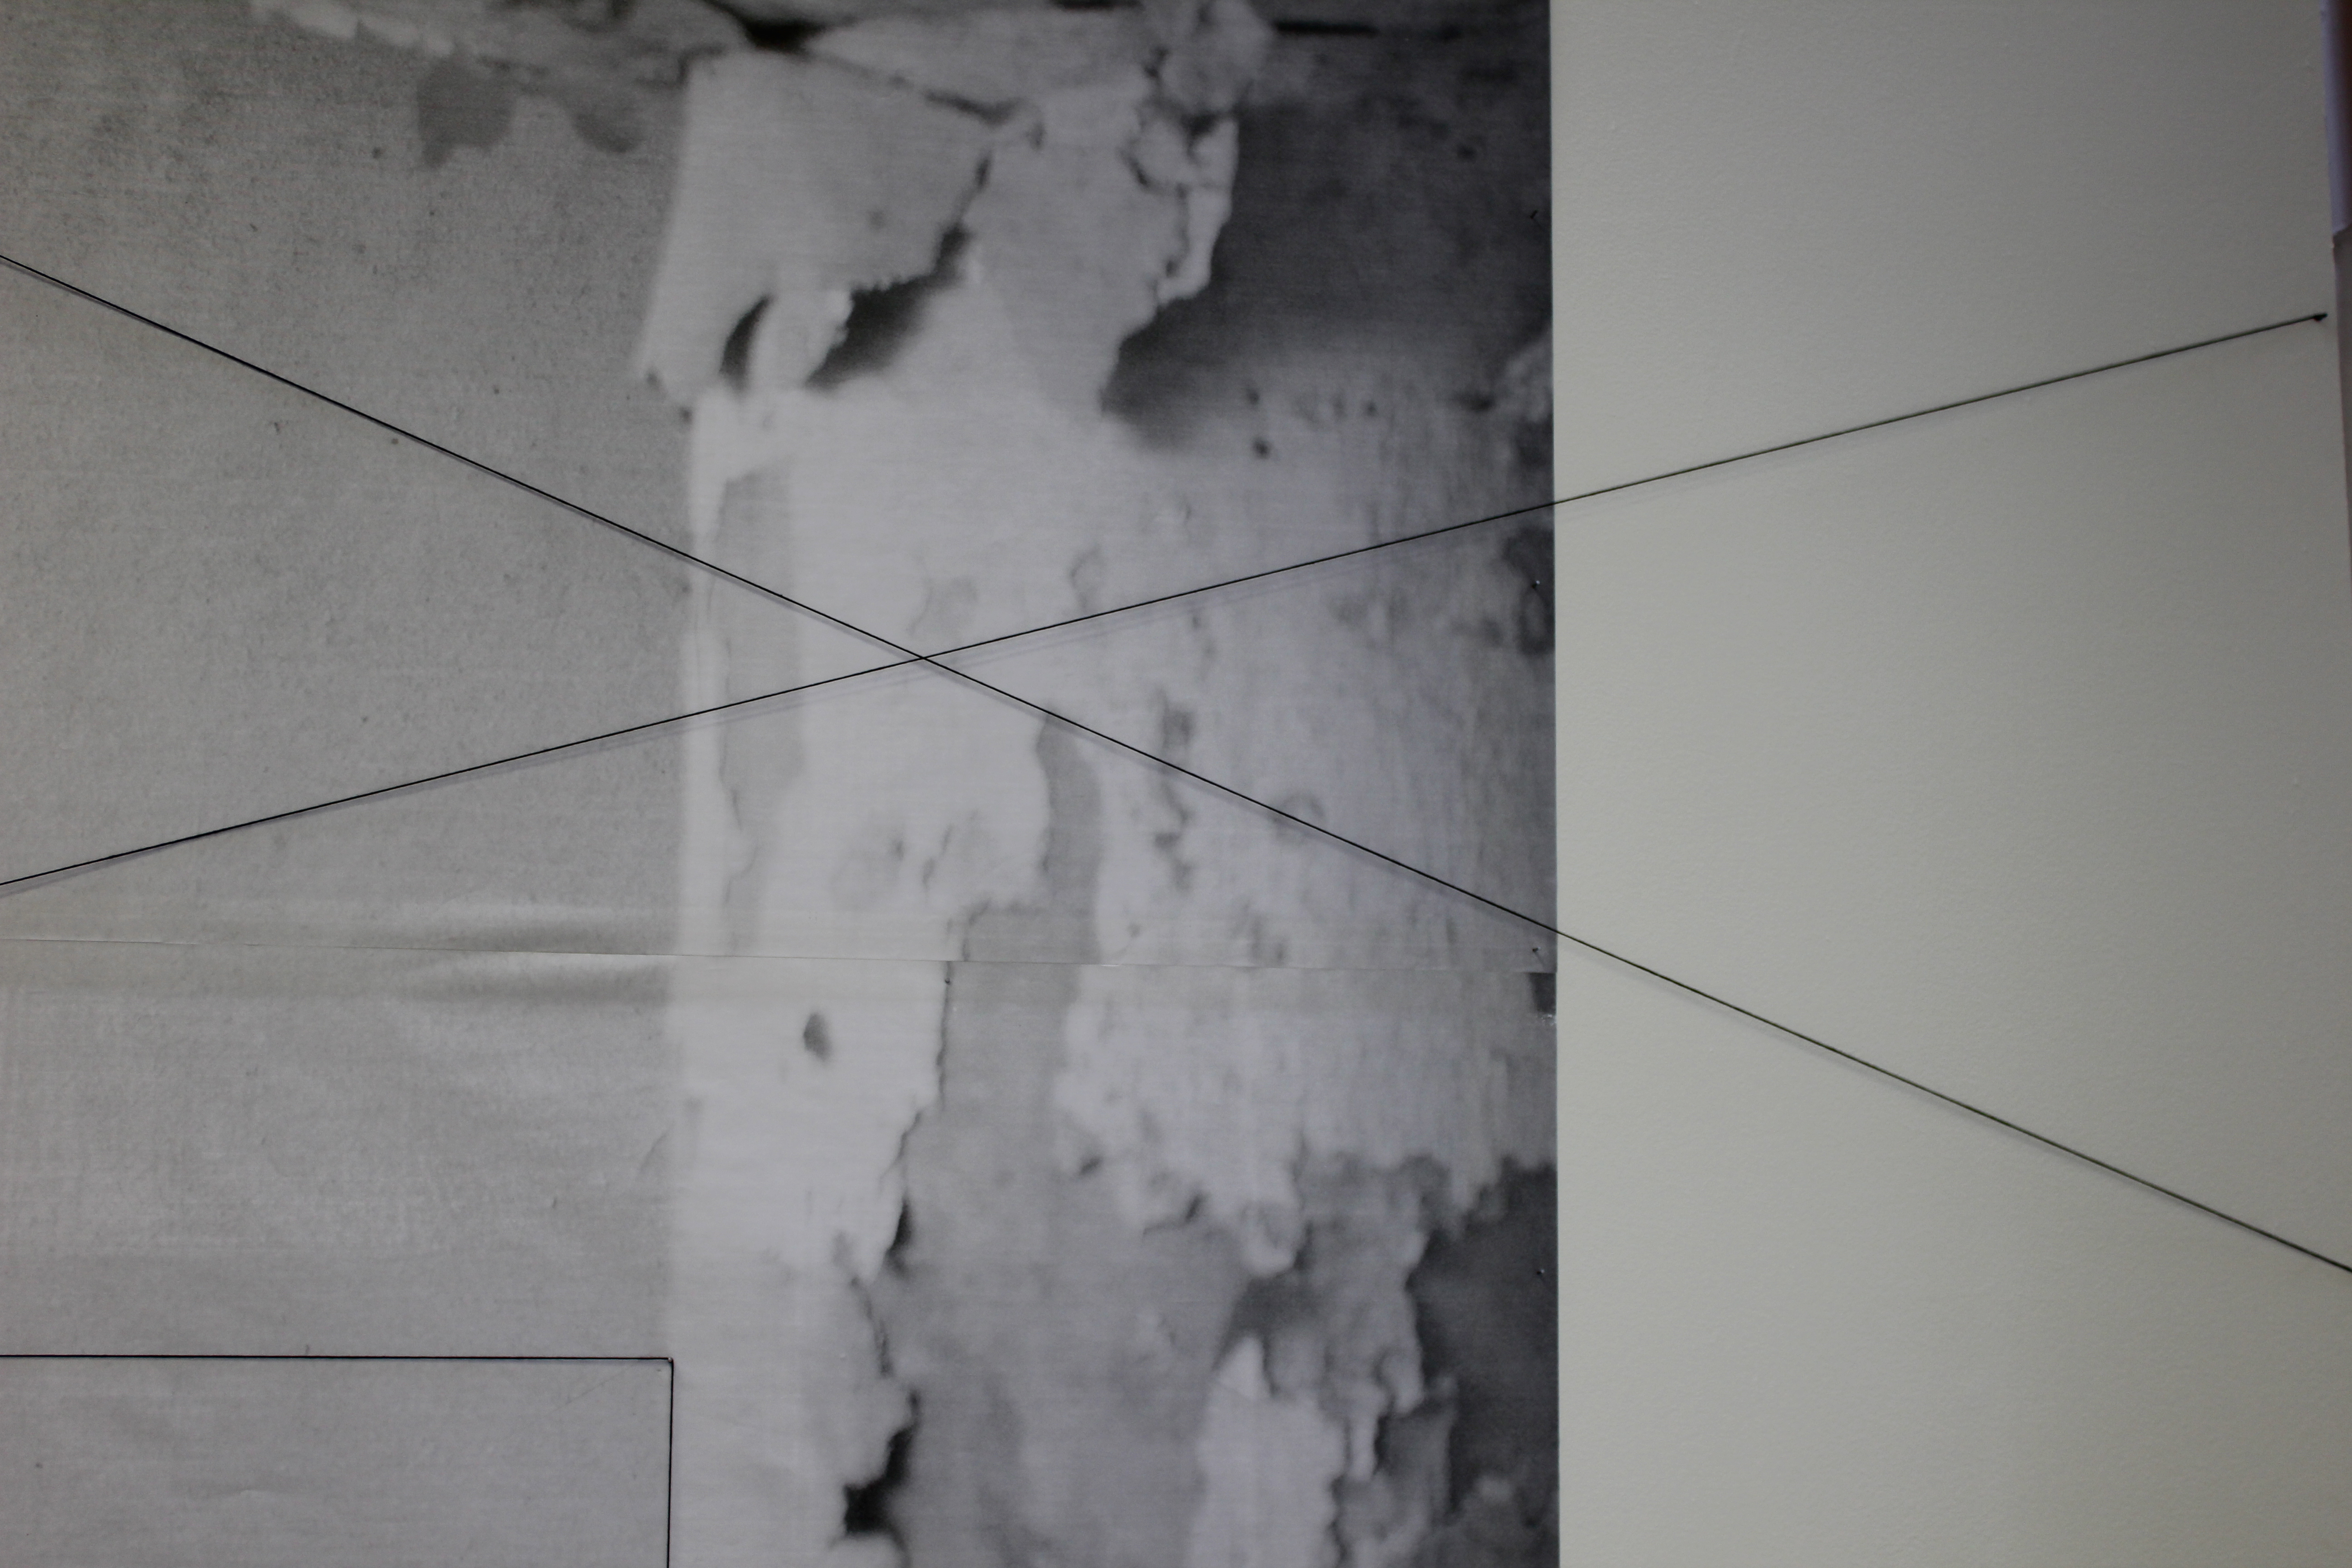
Once i was happy the print was secure i started to attach string in specific places. I decided it was easiest to wait till the image was on the wall to decide where the lines would go.
Final Print


Referencing/Influences
Stans Cafe
Rambert Dance company
Birmingham Opera theatre
Richard long
Book: Geometry Of Desin – Author Kimberly Elam
Book: Phaidon, Odle Decq Benoit Cornette – Author Clare Melhuish
Rachel Whiteread
